Working with FreeCAD was quite the interesting process that became increasingly harder as I went through the objects. While I would never deem this an “intuitive” software, I do find it amazing that you can create and design such a wide array of items with a completely free software.
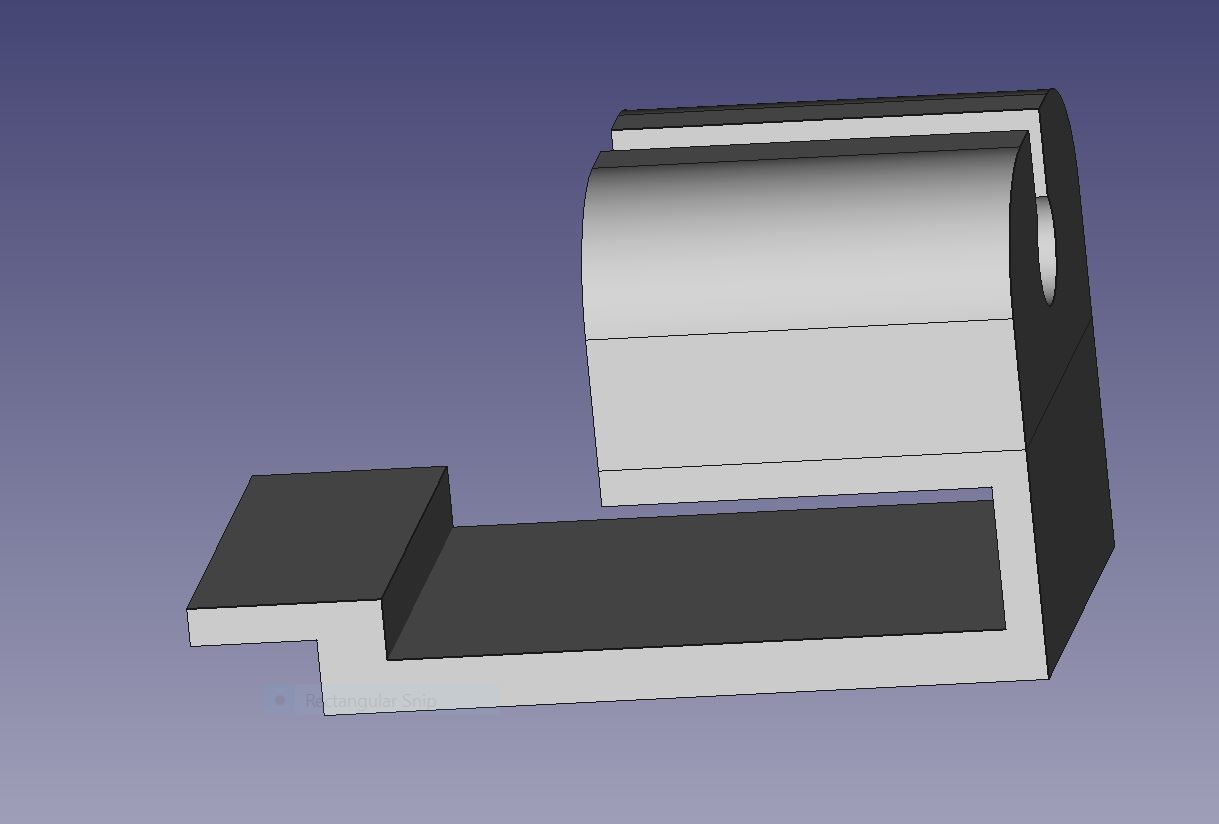
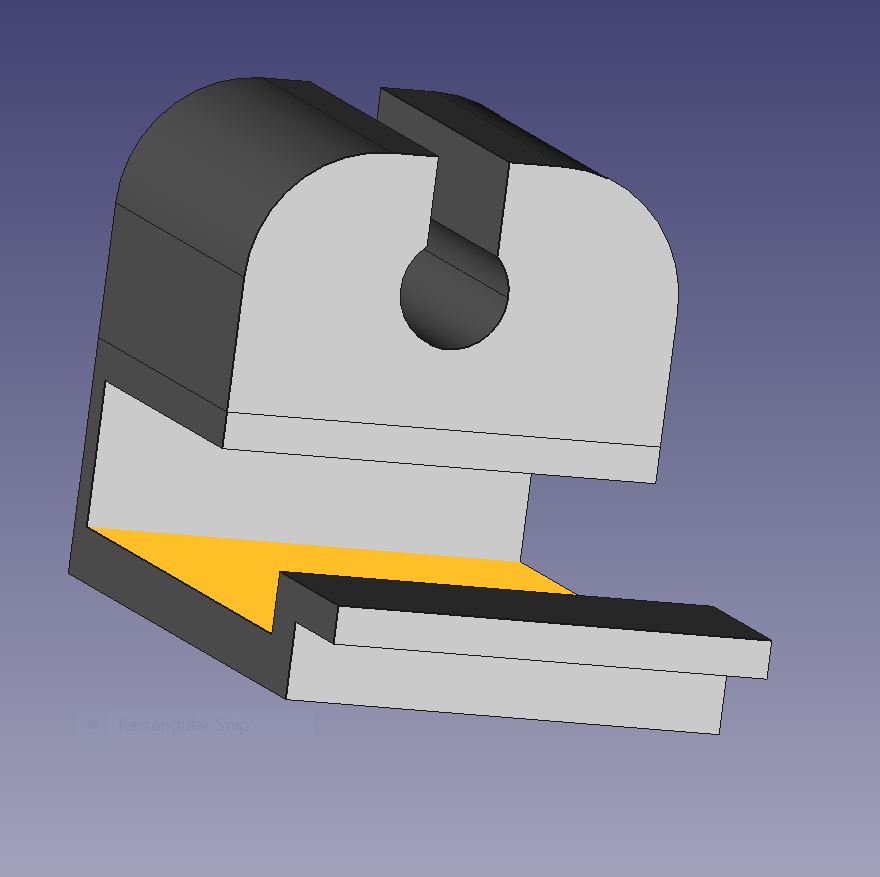

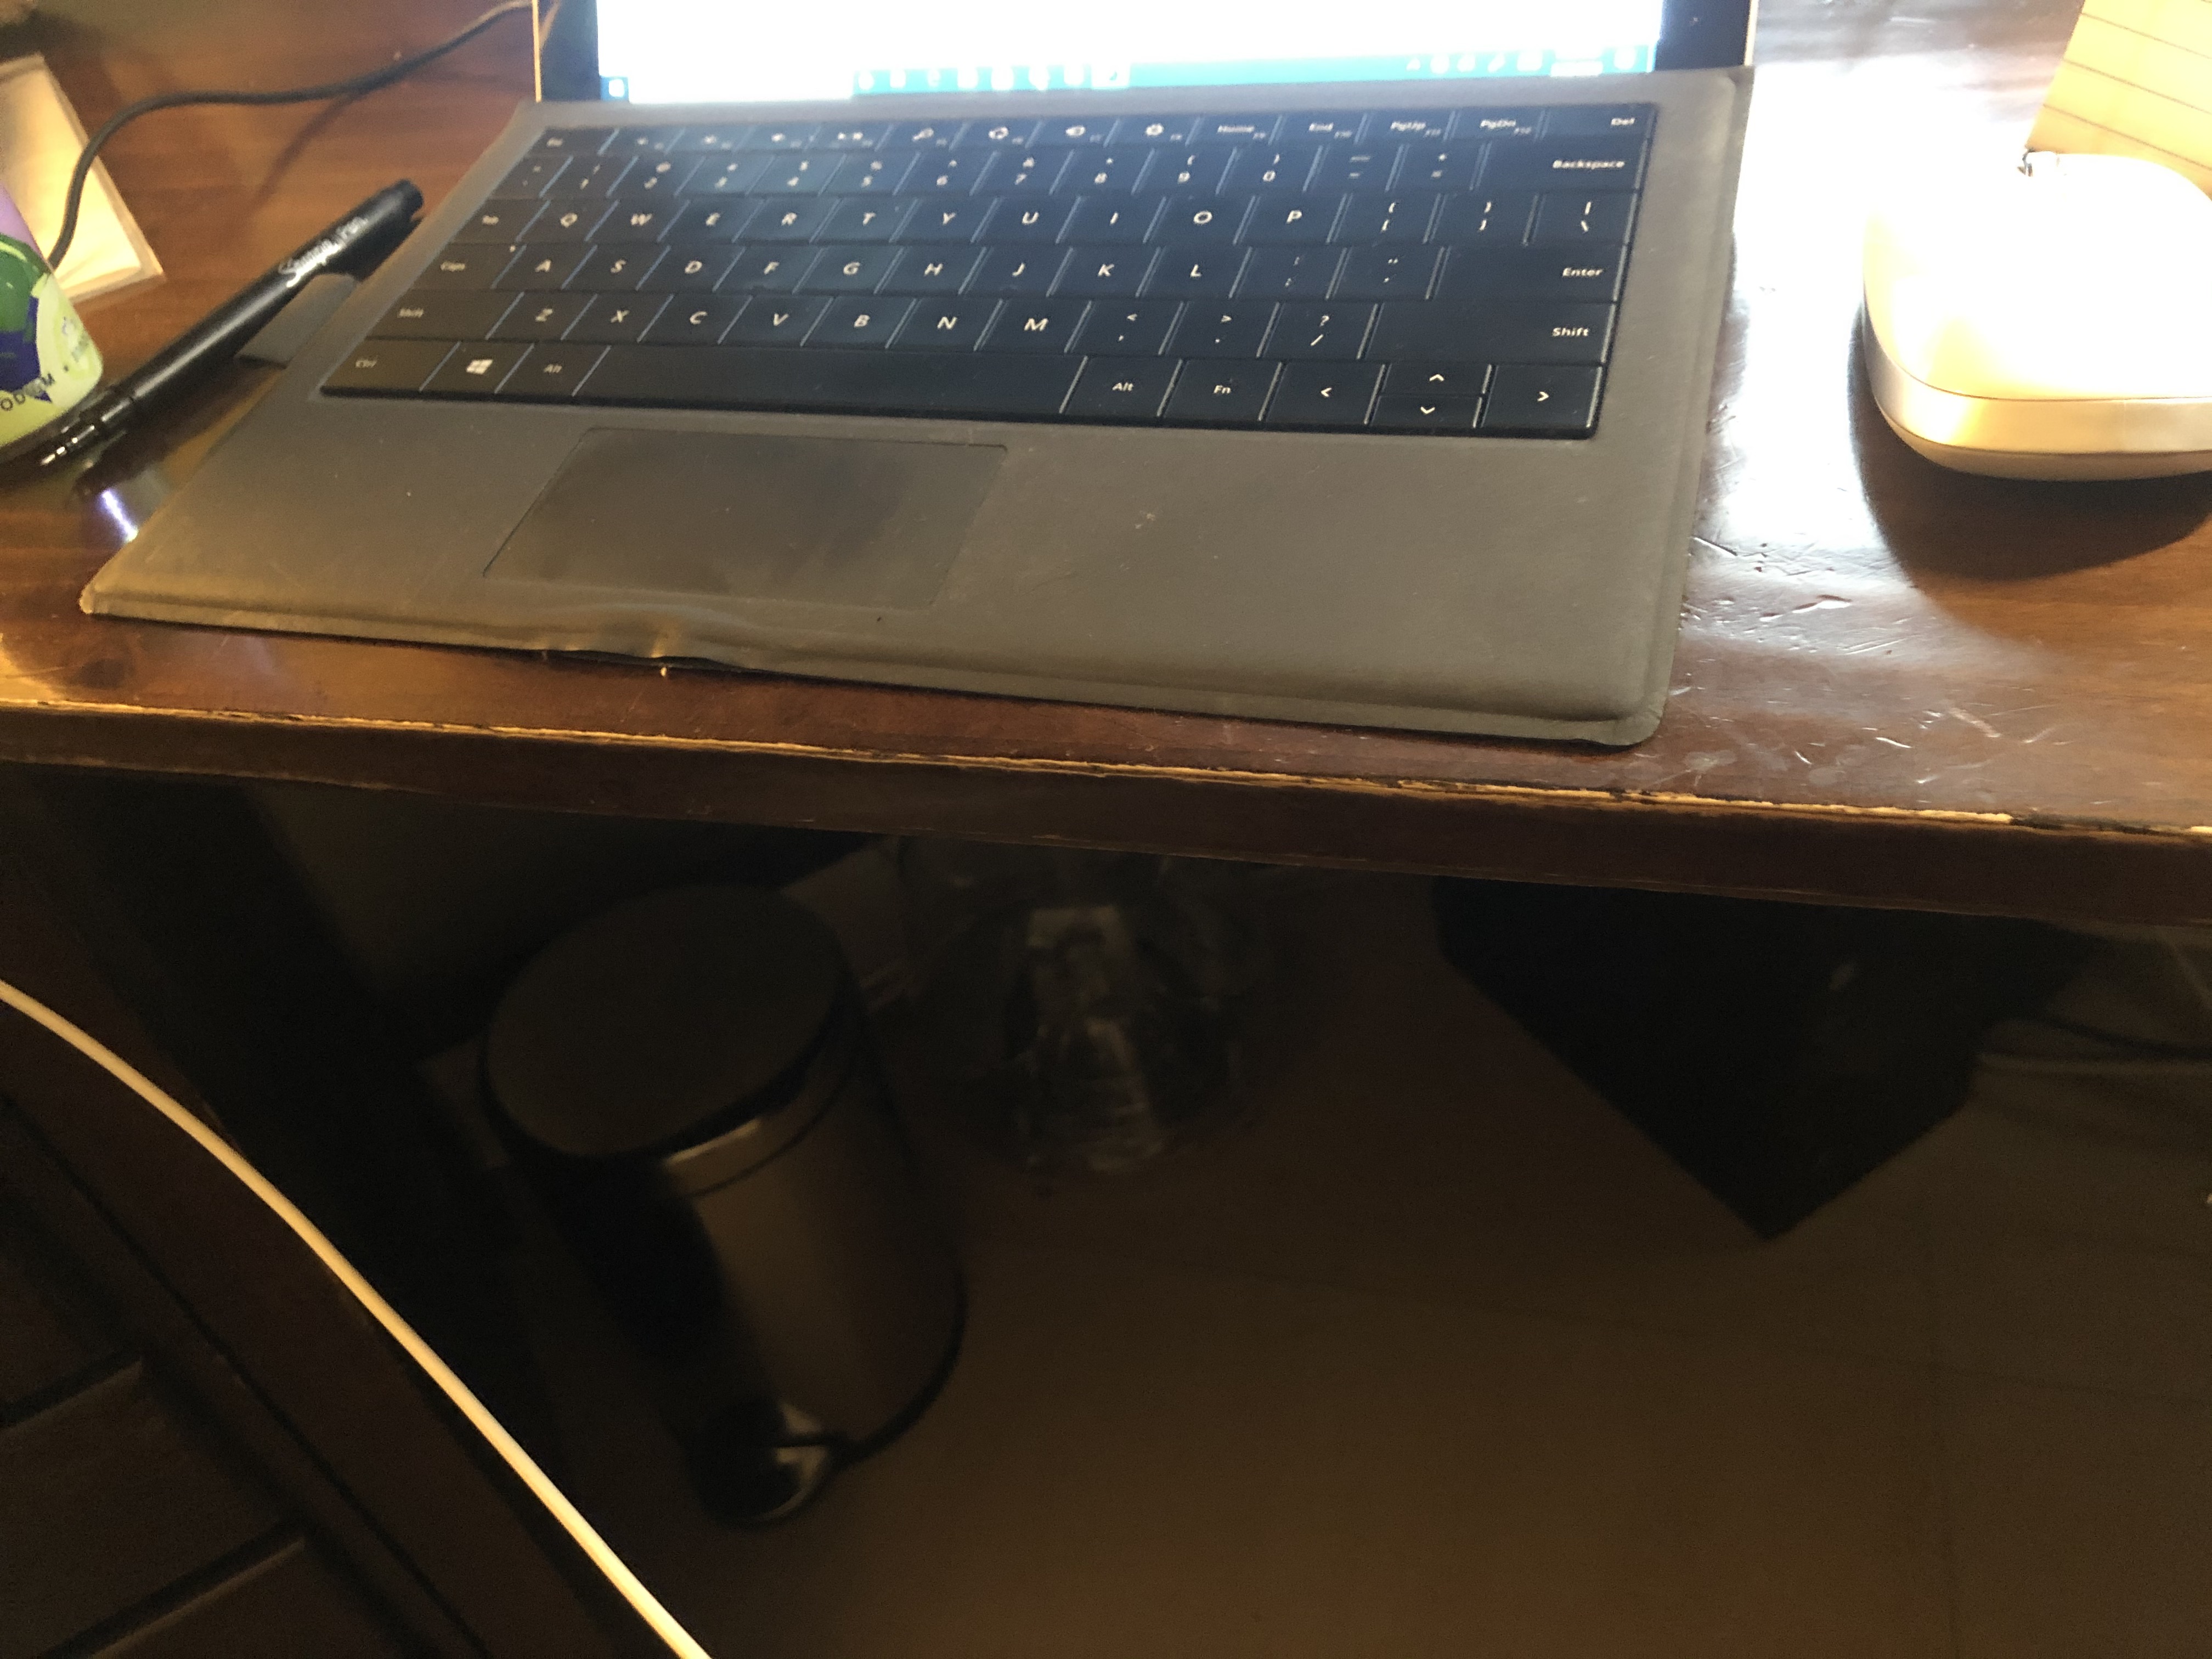
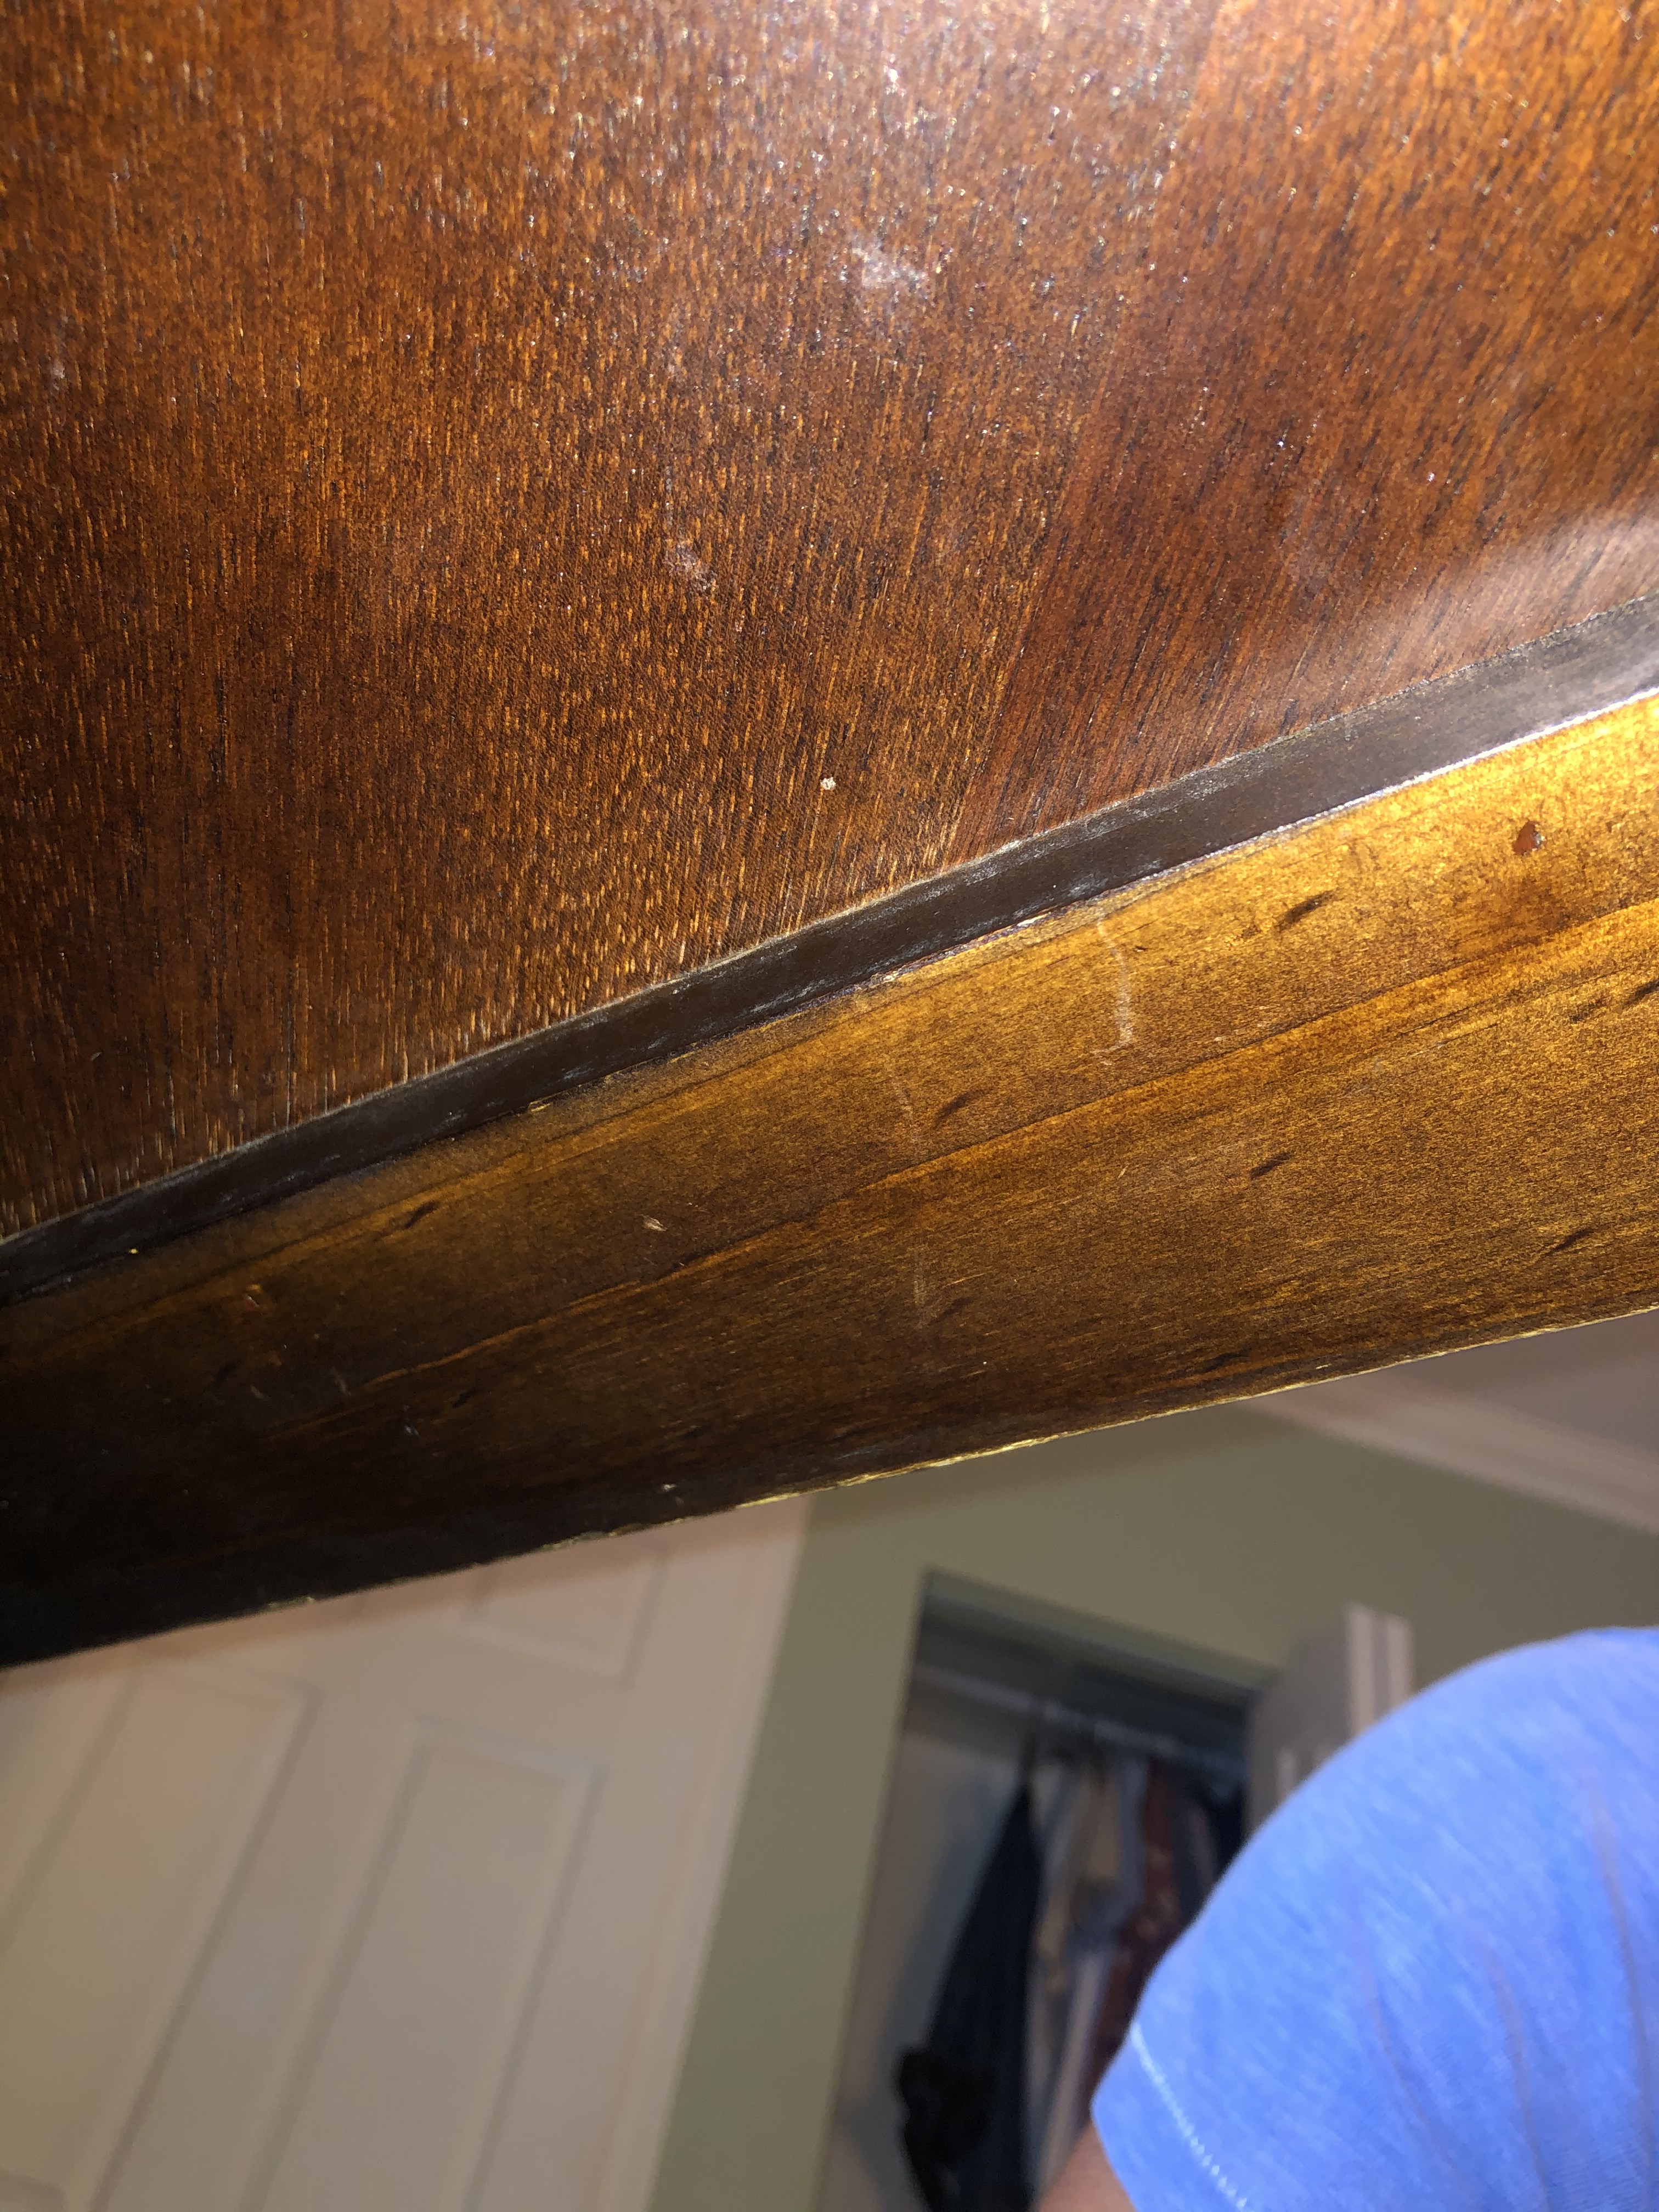
Object two was not too bad, although I spent more time completing it because I didn’t listen to your initial recommendation to draw it out. For the bottom portion that attaches under my desk, there is a small wooden lip underneath that can be seen in the picture above. Due to this, I designed a little step-like hook that would latch into the lip in order to secure the cable holder better.
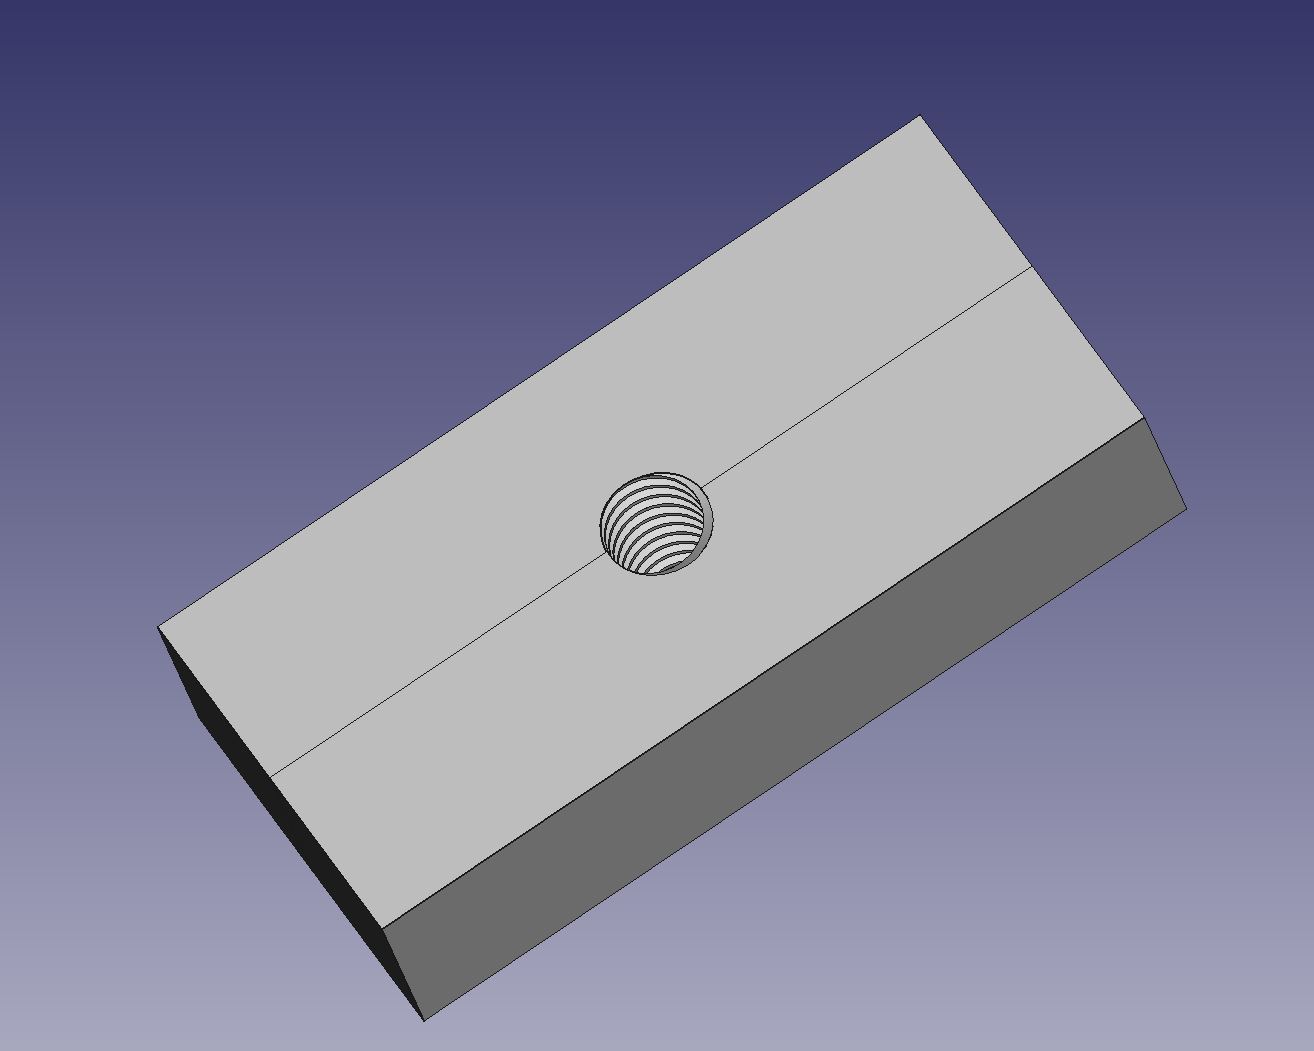
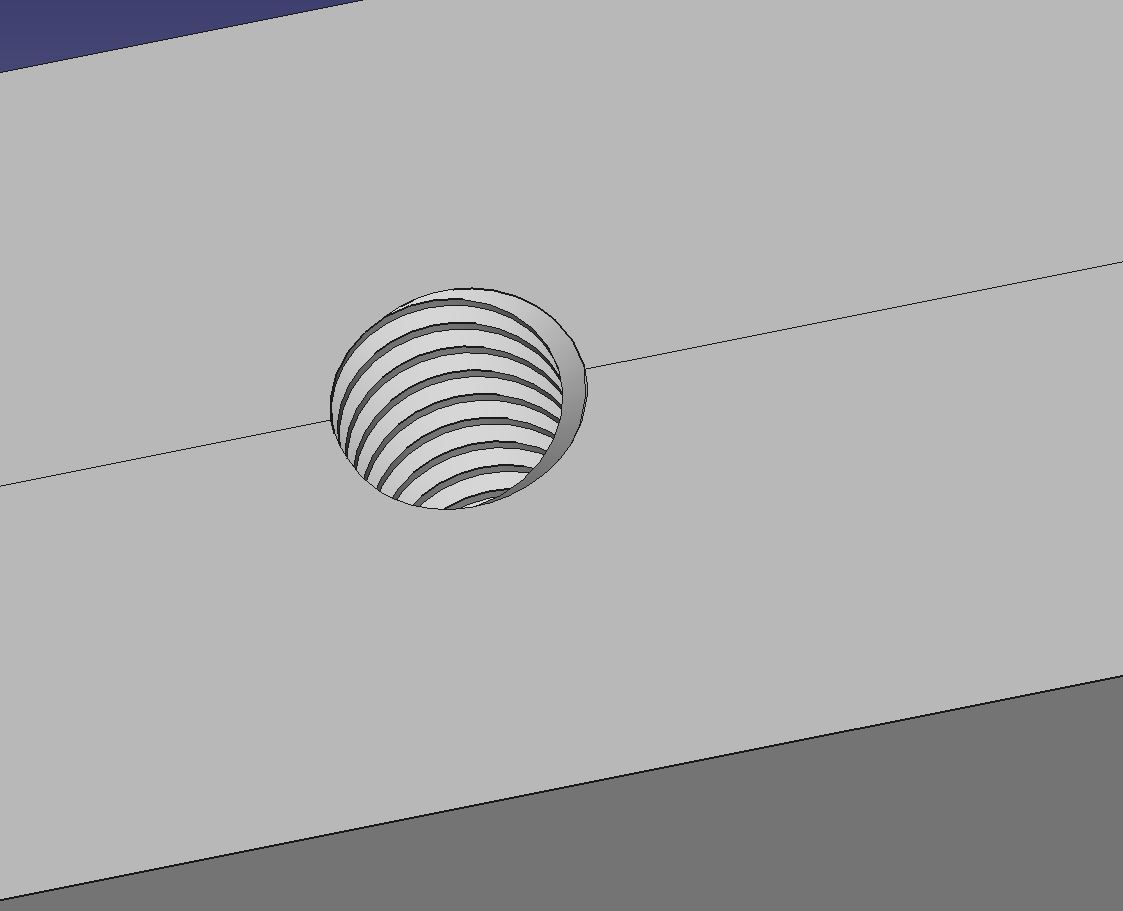
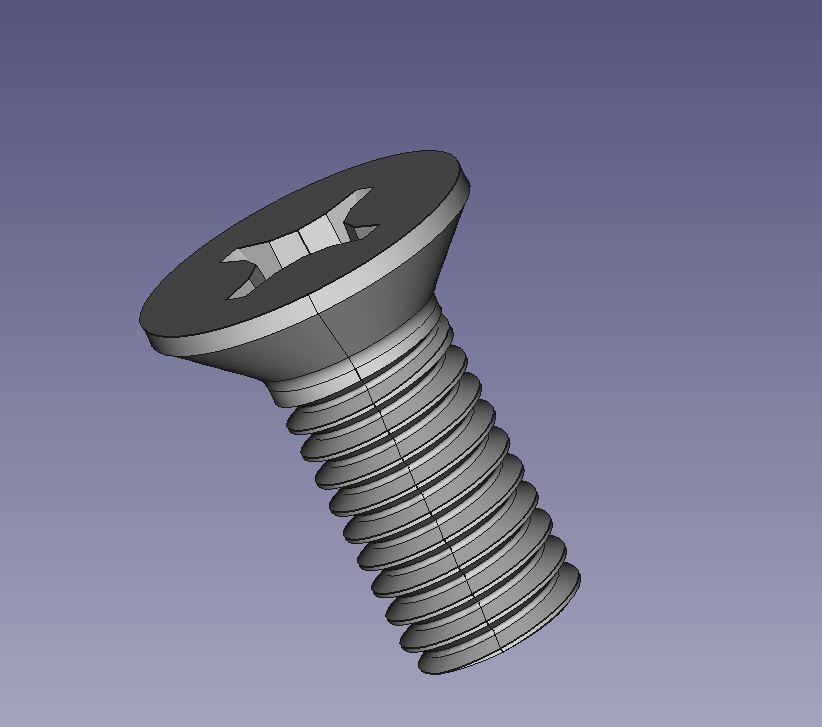
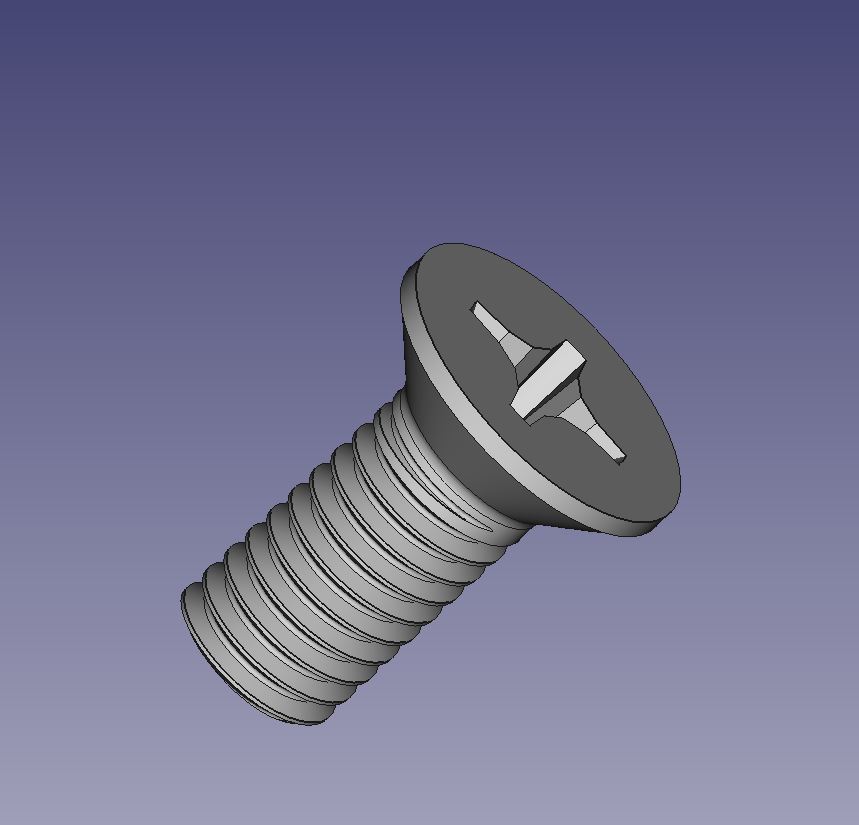
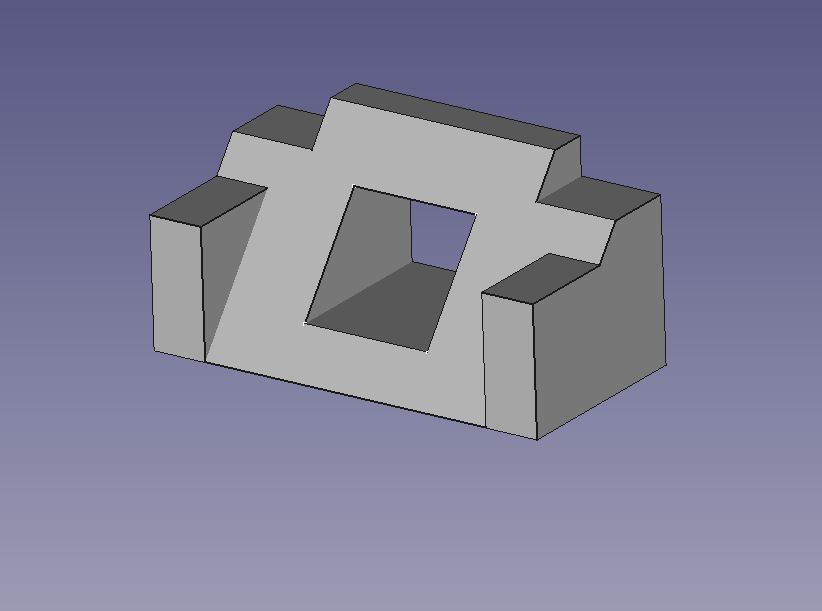
The objects for part three required me to really spend some time with FreeCAD and also use the plethora of tutorials and blogs that are available online. To design the screw, I utilized the fastener add on, which allowed me to add threads without having to create them myself. What took a little more time to figure out was how to make an inner thread within the block for the second object. To do this, I read up on a few blog posts on how to do this. Initially, I tried to just make a hole and then use the thread feature, but this did not produce visible threads. After looking through some blogs, I found a way to navigate around making my own threads yet again. I added just the thread to the work-plane and then created a rectangle around each side. I then used the “part cut” operation to cut out the threads into the block.
